


2019/03/13 Microsoft Cloud Solutions 3195 visit(s)
Ctelecoms
One of the key elements of success for modern businesses is the ability for team members to create and seamlessly collaborate on new plans, assign tasks, share files, chat about what’s being worked on, and get automatic updates on progress. That’s exactly what Microsoft Planner, part of Microsoft 365 business plan, empowers businesses to do.
Planner is an ideal web-based platform where Office 365 users can seamlessly work together on projects, start conversations and get the job done faster without switching between apps. With Microsoft Planner, you can create a plan, build a team, assign tasks, and update status—all in a few easy steps.
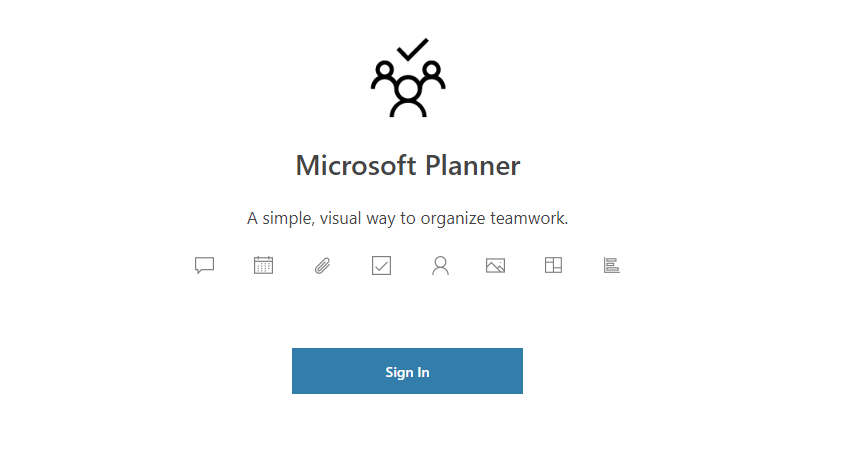
To sign in to Planner, go to tasks.office.com and sign in with your work account. If you're already signed in to Office 365, you can choose Planner on the Office 365 app launcher.
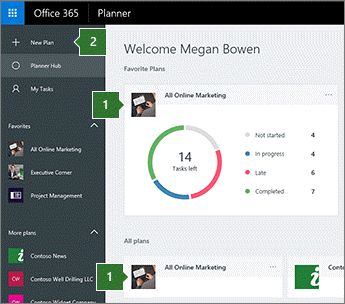
Sign in to Planner, and you'll see a plan for each of your Office 365 Groups.
To get started, you can:
OR
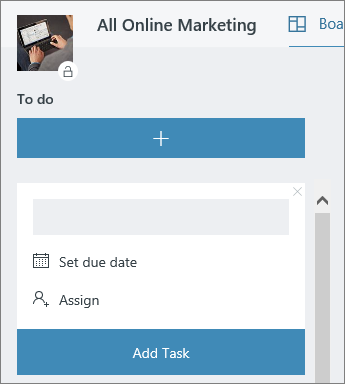
Once you've started a plan, you can add tasks to list what needs to get done.
Enter a task name in the box under To do, and then choose Add task.
After adding tasks, you can sort them into buckets to help break things up into phases, types of work, departments, or whatever makes the most sense for your plan.
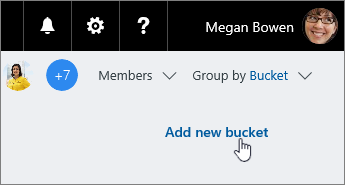
To set up buckets for your plan’s tasks, on the Board, select Add new bucket, enter a name for the bucket.
Once you've created a bucket, you can drag tasks into the bucket to start getting organized.
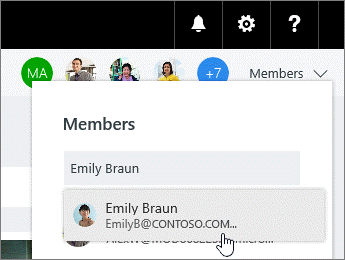
In Planner, select Members, and then enter the name of the person you want to add. Each member will receive an email notification that they've been added to your plan.
Which tasks are running late?In Planner, every plan has a Board and a Charts view. The Charts view shows how your plan is progressing, with details about what’s done, in progress, not started, and late.

You can view just the late tasks for your team.
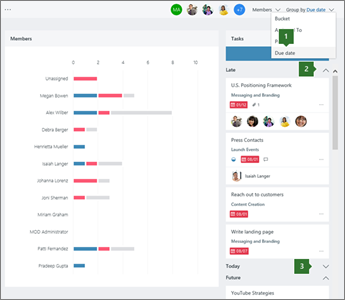
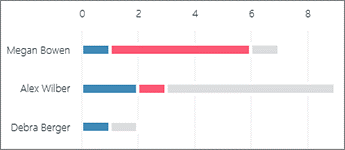
Planner lets you see if one person has more tasks than everyone else. The bars on the Charts view show the number of tasks each person has in the plan, color-coded by progress.
In this example, Megan has a lot of late tasks (red), one in-progress task that's on track (blue), and one task she hasn't started yet (gray).
We hope we've managed to help you get started with the most basic steps of using Microsoft Planner. If you need more information or have any questions regarding any of Planner's functionalities, feel free to get in touch with Ctelecoms any time you wish. We are Gold Microsoft Partner in Saudi Arabia (Jeddah & Riyadh) with all the expertise to help out with a wide array of Microsoft Cloud Solutions.
Ctelecoms team.
Upgrade your IT to be as agile and efficient ...